painting the room
setting up, using, and cleaning the roller pan, pad, and frame
painting the ceiling: cutting in and rolling
painting the trim (doors, base, window sills, door frames, etc.)
creating clean, straight cut in lines: taping up the trim before painting the walls
creating clean, straight cut in lines: sealing the tape with paint
painting the walls (if you are only painting the walls, please start with "taping up the trim before painting the walls")
cutting in the ceiling line
In order, I do the ceilings first, the trim second and the walls last. Some painters do the trim last, but it is much easier to cut the wall color into the trim color than it is to cut the trim color into the wall color.
If you have ceiling cove trim, I would recommend painting that first before painting the ceiling; you can do the rest of the trim after the ceiling is complete.
setting up, using and cleaning the roller pan, pad, and frame
If you are using a tray liner, place the liner in the pan, then tape the upper edge of the liner to the pan. Taping the edge up will keep the liner from moving around on you when you are using it.
I like to line the tray with plastic (see the video link photo above for reference). Not only does it keep the tray clean, I can use the plastic when I am done rolling and wrap the pad with it. I'm then able to store the pad for future use.
Start by taking a piece of plastic larger than the tray. Lay the plastic in the pan and “mold” it to the tray. Make sure you have enough excess so you can tape the plastic to the outside of the tray. Tape the plastic to the outside of the tray. Take a couple pieces of tape and tape them to the inner sides of the pan. This will help protect the plastic from the roller frame when you are using the pan.
using a bucket
To make the painting a little easier, use a plastic bucket or a product like Handy-Pail. Pour just enough paint into the pail so when you put the brush into the bucket, it will cover about half of the bristles.
a quick thought on maintaining a wet edge
Latex, or water based paints dry pretty fast, so the idea of cutting in the all the edges, then rolling the walls before the cut in area has a chance to dry is pretty remote. I would recommend cutting in the edges first, letting it dry, then rolling the wall.
Now when you are cutting in or rolling, you need to maintain a wet edge. You don't want to cut in an area, go away for 10 minutes, then cut back into an area that is starting to dry. If you do, the drying paint will lift up when painted over and will dry like that creating shadows or leaving large, noticeable brush marks.
Same goes with rolling. Do the best you can to maintain a wet edge; if the paint starts to dry and you roll back into that area, it will lift the paint and create little peaks which will dry like that creating shadows. If you need to walk away for a few minutes while rolling a wall, simply let the area you have done completely dry, then come back to it.
painting the ceiling: cutting in and rolling
cutting in the ceiling
Let's start by cutting in the ceiling. Take your brush and dip it into the paint about half way onto the bristles, You can either wipe the paint back off on the inner lip of the can, or lightly tap the bristles against the inside of your bucket.
Paint everything in the middle of the room that needs cutting in. You do not have to paint the ceiling edges where the ceilings meet the walls; we will be doing this later on when we paint the walls.
Don’t try and stretch the paint; if you find that you are pushing down hard on the brush to get paint on the ceiling, load the brush back up. Apply a decent coat of paint, and make sure you don't leave any ridges or really noticeable brush marks.
rolling the ceiling
Pour the paint into the pan; make sure you don’t fill it too much. Take the roller pad and roll it into the paint. Saturate the roller pad.
Roll the roller pad into the paint, then roll off the excess. When you take the roller pad out of the pan, you don't want paint running off it. Take the roller and paint, say, a 3x3 or a 4x4 section. It’s best not to start near the edge of the wall or, say near a light, as you'll have a lot of paint on the roller pad at first. Start away from those areas and roll your way back to them. Apply a good amount of paint. If you are pressing down hard to get the paint on the ceiling, simply load the roller pad back up with paint. Try not to leave noticeable roller edge ridges of paint.
Once the ceiling dries, check to make sure it covered; apply a second coat if necessary.
what to do with the brush and roller pad between coats of paint
If you are applying a second coat, but need to wait for the paint to dry, either wash the brush or put it into the bucket of paint far enough so the paint covers the bristles (in these scenarios, I recommend cleaning the brush out).
Take your roller pad and roll it into the paint to get it nice and saturated. Now take a piece of plastic large enough to cover the pan. Find a rag big enough to cover the pan and saturate it with water. Wring out the rag and place it over the plastic. This will create a “seal” over the pan which will keep the paint from drying out. Check on the roller every half hour by lifting up the plastic and rag, re-rolling the pad into paint, then covering it back up.You want to make sure the pad and the upper part of the tray stay wet so the paint will not dry on you.
painting the trim: baseboards, window sills, and door frames
The baseboard, window frames, and door frames should be done with a brush. I know this next comment is problematic, but make sure you’re not applying too much or too little paint, and try to keep your brush strokes consistent and as straight as possible. Also, make sure you don't over brush (brushing back and forth too many times in the same area; the paint will start to dry on you and "drag the paint" leaving very noticeable brush marks). Finally, make sure you apply the trim paint onto the wall about a 1/2' or so. Once dried, check to see how well it covered. If necessary, apply another coat.
painting the trim: doors
A majority of the trim can be done with a brush, but if you have larger areas like doors, you could use a creeper roller with a small nap. If you decide to do any rolling, get yourself a paint tray and set it up, then put the roller cover on one of the creeper roller frames.
With panel doors, you should do all of the inset panels first, allow the panels to completely dry, then paint the framing area. Painting sections at a time is preferable as the paint may dry too fast on you and create problems. Take your roller and roll some paint to the interior panel; then, using your brush, brush the rest of the panel out.
Take a wet rag and run it along the outside of the panel to remove any excess paint.
Finish all the panels. Once the panels have dried, go ahead and paint the rest of the door
cutting in freehand vs. taping
Once you have finished all the trim, the next step is to paint the walls. Now you have two choices here for cutting in along the vertical trim runs (window and door frames, etc.) and the horizontal runs (baseboard, ceiling line, etc.). I have been painting for a long time and I am very good and cutting in freehand, but I don't think it looks nearly as nice as taping up the trim, baseboards and ceiling lines. Below I go into my process of using tape. The video goes into a bit of detail on my thoughts.
creating clean, straight cut in lines
If you are not painting the trim, I would highly recommend at least painting the edge of the trim with the old paint making sure to apply the trim paint onto the wall about 1/2". If you caulked all of the trim edges you will need to do this anyway.
creating clean straight cut in lines: taping and sealing the tape with paint for the vertical trim runs
After the trim paint has fully dried (preferably overnight) you need to tape it up for painting the walls; this is a critical step. In this instance, I like to use 3M's super safe release tape as it is low adhesion so is safe for applying to freshly painted surfaces.
For the door and window trim (the vertical runs), apply the tape onto the trim about 1/8 of an inch away from the wall. You want to make sure you are not in the caulk line, grove or exactly where the wall meets the trim as these areas are usually not smooth. Don’t be afraid to come out quit a bit onto the trim if needed.
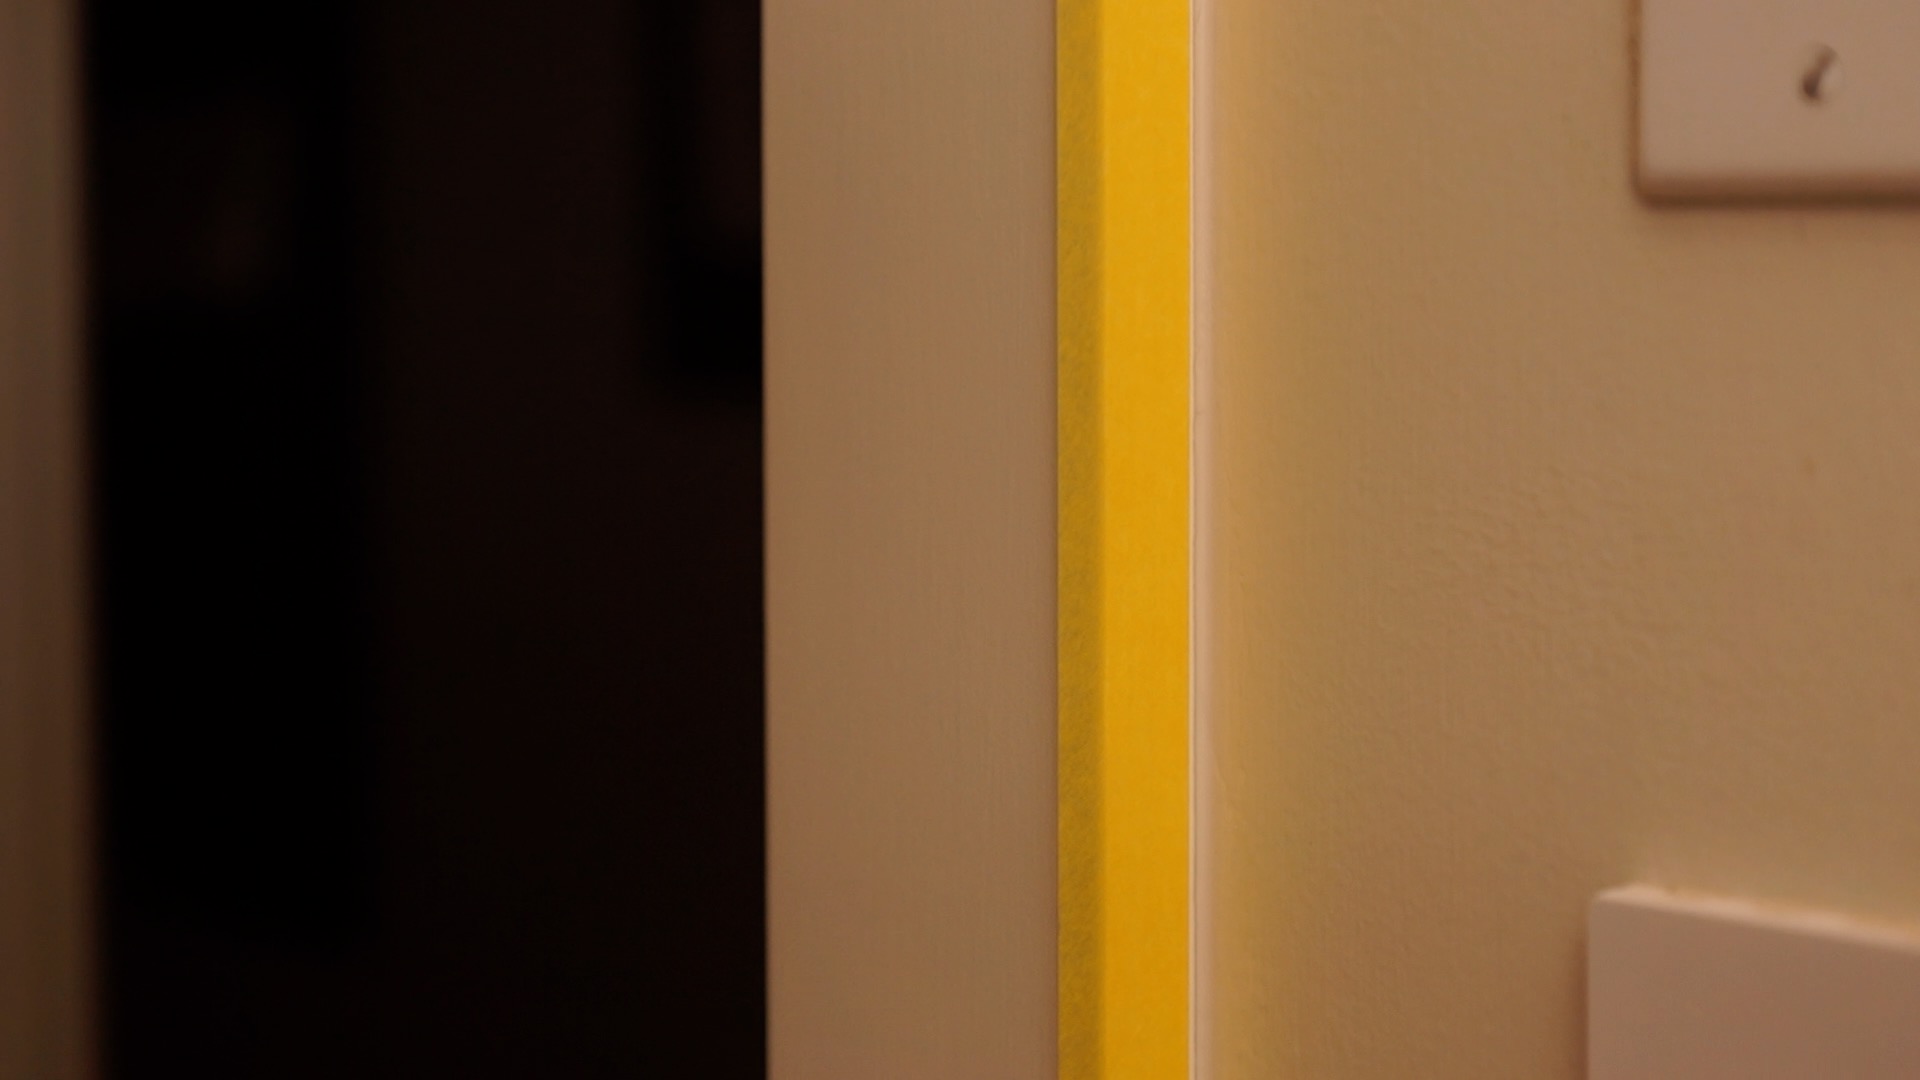
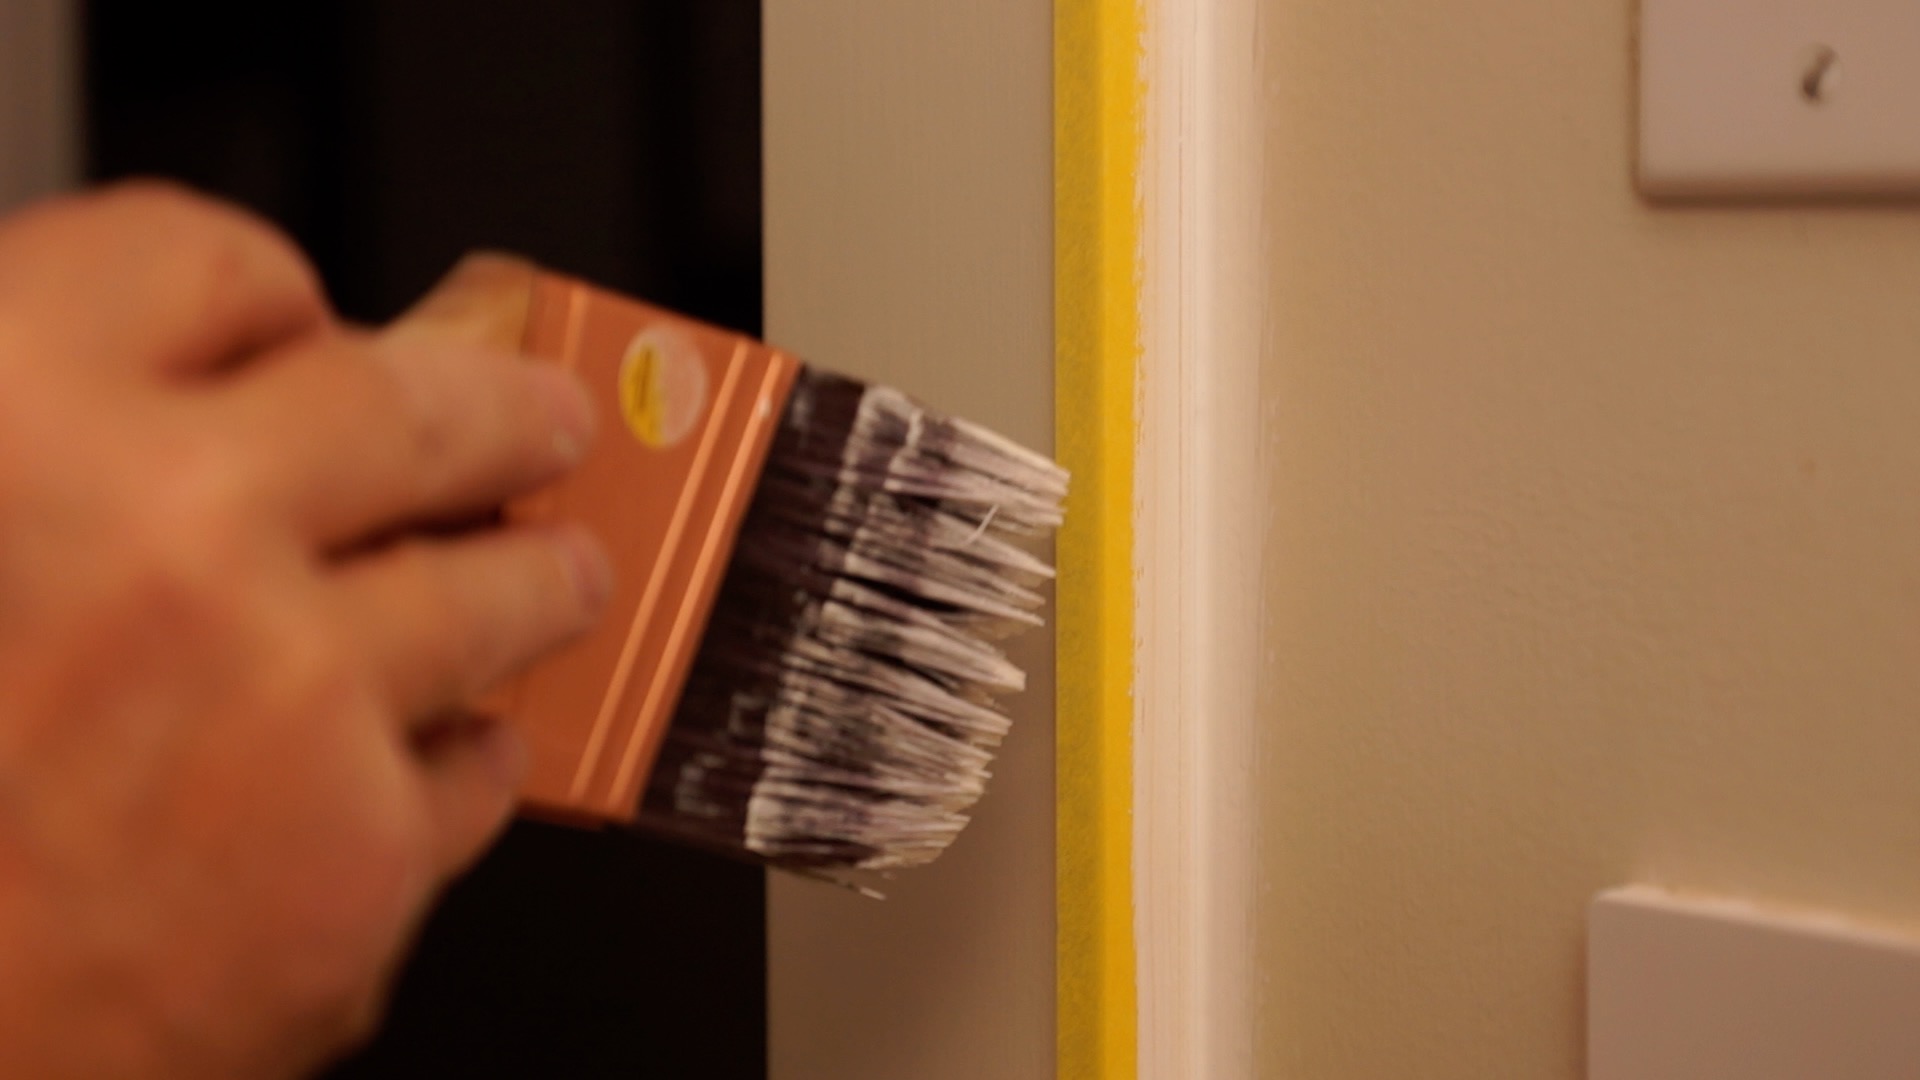
Next, you want to seal the tape with paint. This will help keep the new wall color from leaking behind the tape. When you seal the tape with paint, you want to use the paint that you are protecting with the tape. For example, if you are taping to the trim to protect the trim, you want to use the trim paint to seal the tape. If you are interested in using Frog Tape for this scenario, I go into some detail below explaining why I do not use it.
creating clean, straight cut in lines: taping and sealing the tape with paint for the baseboards
For all of the horizontal runs on the base, apply the tape so the tape comes up onto the wall just a touch. When you stand up and look down onto the baseboard, you should not see any of the tops of the trim. Use about 1 to 2-foot sections of tape to do this, as it’s easier.
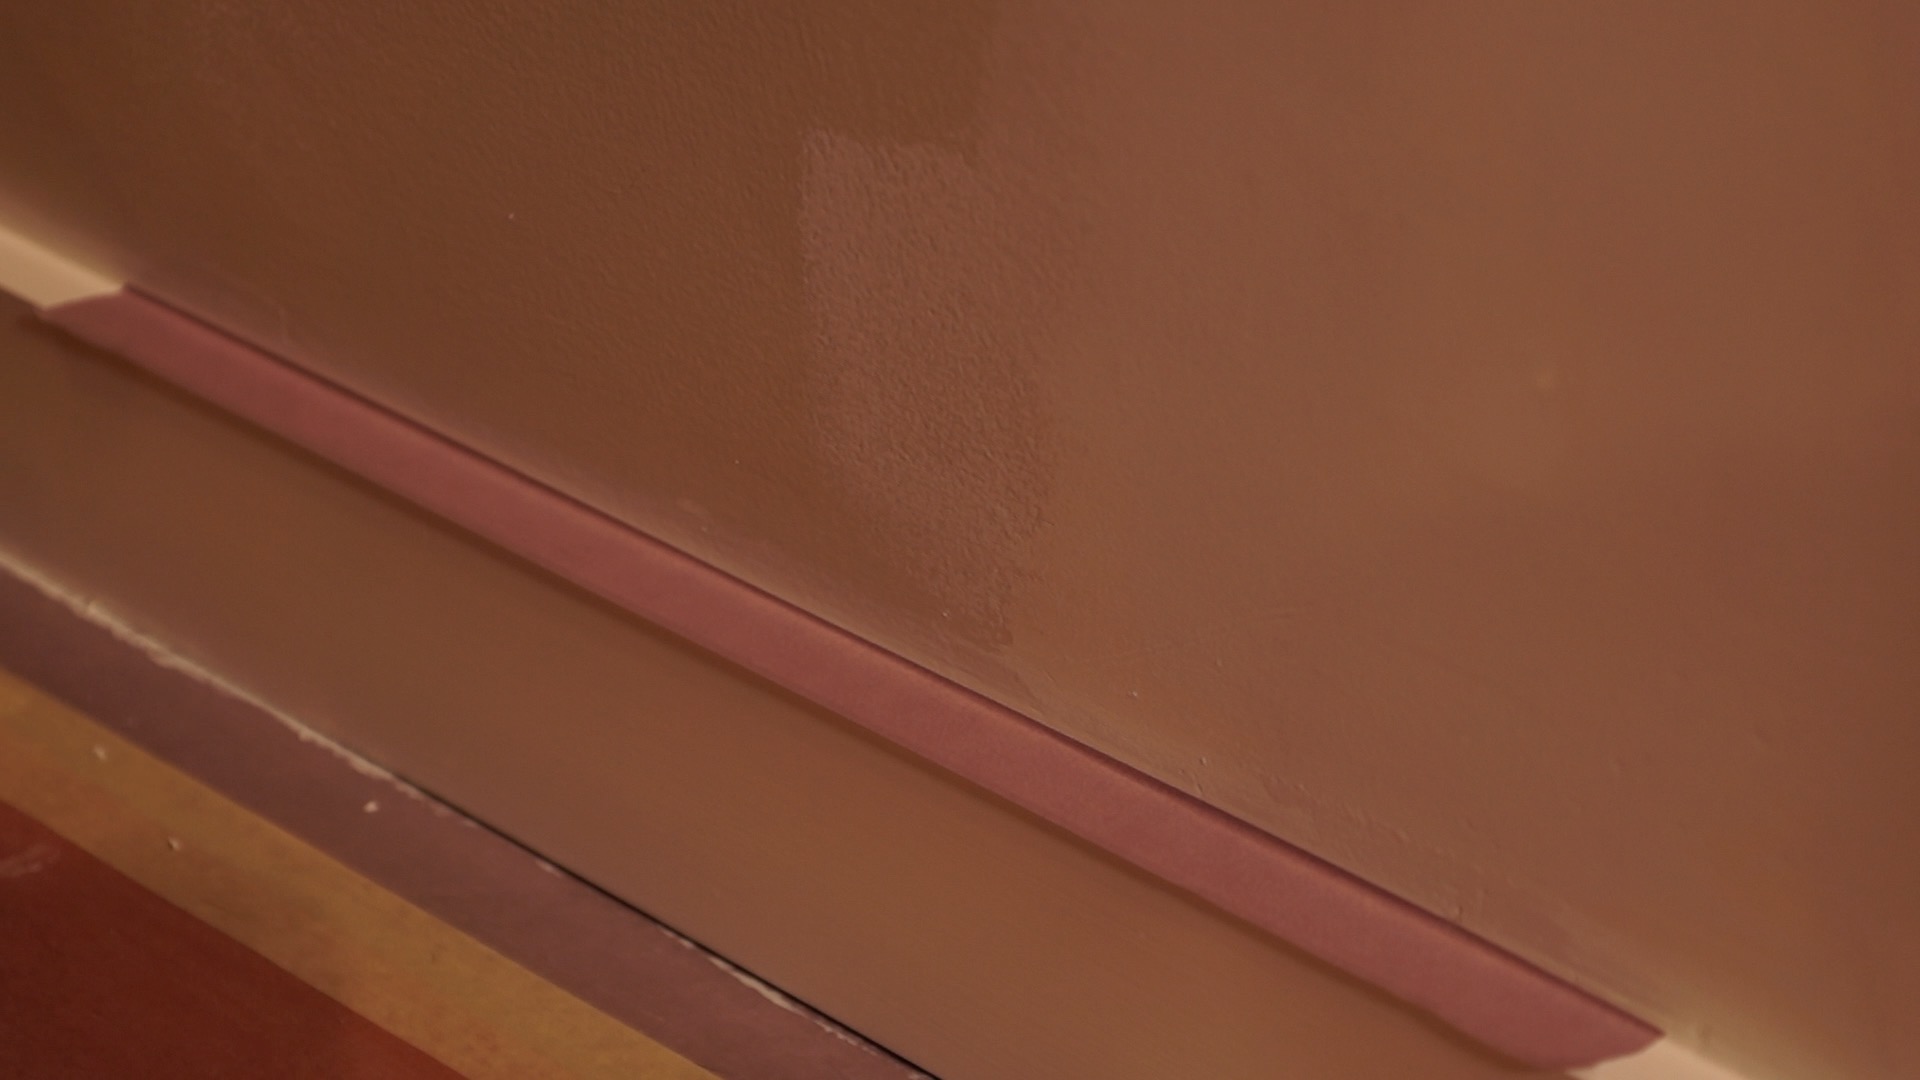
Then simply seal the tape with paint as noted above. Wait for the paint to completely dry before painting with the finish color.

If you have ceiling cove or molding, you should tape up the bottom edge making sure you tape onto the trim just away from the wall, if possible. If you do not have any ceiling molding, don’t worry about taping up the ceiling now as we take care of that cut in line after the walls are complete.
Always remember that when you tape up trim, or are taping to create a straight line with tape, to seal the tape with the paint that you are taping to. For example, if you are taping up to protect the trim color, use the trim color for the sealing. The idea here is to seal the tape so the new color will not leak behind the tape. Now you may have a little leakage, but it will be nothing compared to not sealing. This process works really well with rough surfaces like textured walls; if you taped a rough surface without sealing the tape, you will have a heck of a leaky mess on your hands.
Allow the paint you used to seal the tape to dry thoroughly before painting the walls.
Frog Tape
There is a product on the market called Frog Tape and its purpose is to bypass the sealing of the tape. In my experience it doesn't work as well as the process I have explained. As it works fairly well for smooth walls and trim, it does not work well on textured walls. If you watch the video below (my method vs. Frog Tape), I do an experiment with sealing the tape with paint, vs. Frog Tape.
If you use Frog Tape on a rough surface, I would seal it with paint. Alternately, you could seal the Frog Tape by running a wet rag over the top of the tape before painting. This releases the Paint Block Technology and worked pretty well in my experiment, but not as well as sealing it with paint.
If you decide to use Frog tape, purchase the yellow (delicate surface) as opposed to the green (original). The green has a higher adhesion level and may pull off fresh paint.
creating straight lines: my method vs. Frog Tape
thoughts on why you shouldn't use caulk to seal your tape
Instead of using paint or Frog Tape to seal your tape, you could use clear caulk. You would apply the tape, then apply the clear caulk, but you must paint and pull the tape before the caulk has a chance to even remotely dry.
So I am not a fan of using caulk to seal your tape for 2 main reasons:
-
The first is that if the caulk starts to dry on you before you pull the tape, it will create a rubbery bridge between the painted surface and the tape which will be hard to fix.
-
The second reason is that if you need to apply two coats of paint (and in my experience you need 2 coats about 80% of the time), you will need to do the taping and caulking twice unless you decide to cut in the second coat free hand. I've been painting a long time and cutting in by hand takes a lot of time and practice to become proficient at it.