prepping the room for paint
problem areas:
Now that we have the room covered, we are ready to get the walls, trim and ceiling ready for paint.
cleaning areas to be painted
Most surfaces can be quickly wiped down to remove cobwebs and loose dirt. For heavily soiled areas, it’s best to use a household cleaner, TSP (Tri Sodium Phosphate), or a TSP substitute.
Back to Top
scraping and sanding/dealing with lead paint
dealing with lead paint
If your home, whether house, condo, or apartment, was built before 1978, there is a good chance there is lead in some of the older paint. Lead exposure can lead to serious health issues, so it is important that you take precautions during the painting process.
Under the RRP (Renovation, Repair, and Painting) Rule, the EPA now requires contractors who disturb lead based paint (more than 6 sq. ft. of interior paint, or more than 20 sq. ft. of exterior paint) to be certified about lead paint removal.
As homeowners do not fall under the same certification requirements, it’s important that you understand the dangers of lead and how to go about protecting yourself and your family.
You can purchase at home lead test kits, but I would suggest using only those approved by the EPA.
Here is the EPA link for information on homeowners doing their own work around lead based paint.
scraping and sanding
With a putty knife or carbide blade, scrape off peeling or loose paint. Now depending on the surface (trim vs. drywall, etc) you could try to sand the edges of the void down smooth so it will blend in; or you could spackle the area. Sanding the edges smooth can be a little tricky, so I would suggest simply spackling the void. Make sure when you’re done sanding, that you clean the area well with TSP, TSP substitute or a household cleaner, then let dry completely, before priming said area (if you are going to spackle the void, you should still prime first). Once the spackle is dry, sand, texture (if needed), and prime.
If you have shiny or glossy surfaces, even if you have already cleaned them, you should lightly sand them down. The idea here is to give the new coat of paint something to “bite” into. Now even though TSP is meant to “etch” the old paint, I still recommend a quick sand.
Before you paint, run your hand down the walls and trim to see how they feel. If they feel gritty, or if you can see dirt or old roller fuzz in the paint, sand the walls and/or trim down lightly. If you have old paint runs, you could either carefully run a carbide blade down them, or sand them down smooth. Sand all of these areas down so they feel smooth to the touch.
Back to Top
spackling/puttying
If you have Molly bolts you are not going to reuse, gently pound them with a hammer so the metal flange is just below the wall surface. Then simply spackle over the void. Apply enough to allow for a small amount of shrinkage. Once the spackle is dry, sand smooth and then prime.
With plastic screw mounts, assuming you are not going to reuse them, cut off the outer edge carefully with a sharp box knife, then lightly hammer the plastic just below the wall surface. Take the putty knife and apply enough spackle allowing for shrinkage. With smaller voids, I will always try to avoid having to spackle twice. If you flat spackle the hole (applying the spackle in the hole, but flush to the wall), the putty may shrink enough that you will need to apply another coat.
Nail pops are small bumps in the drywall which happen when the nails or screws, used to keep the drywall in place, come loose. Take a stiff putty knife and scrape into the bump to remove it. After removing the loose drywall, you should be able to see either a nail or a screw head. I recommend pounding the nail in a bit with a hammer, or screwing the screw tightly into the wall. Cut away any loose drywall paper, then sand the area down. Spackle the hole, let dry, sand and prime.
With small nail holes in textured walls, simply fill the hole with a small amount of spackle and wipe down the area with a rag, in other words, don’t create a big spackle mark that needs to be sanded later on. If you just fill the hole, then you don’t have to do anything else.
With smaller holes and voids in smooth walls, apply enough spackle with a putty knife making sure you allow for shrinkage.
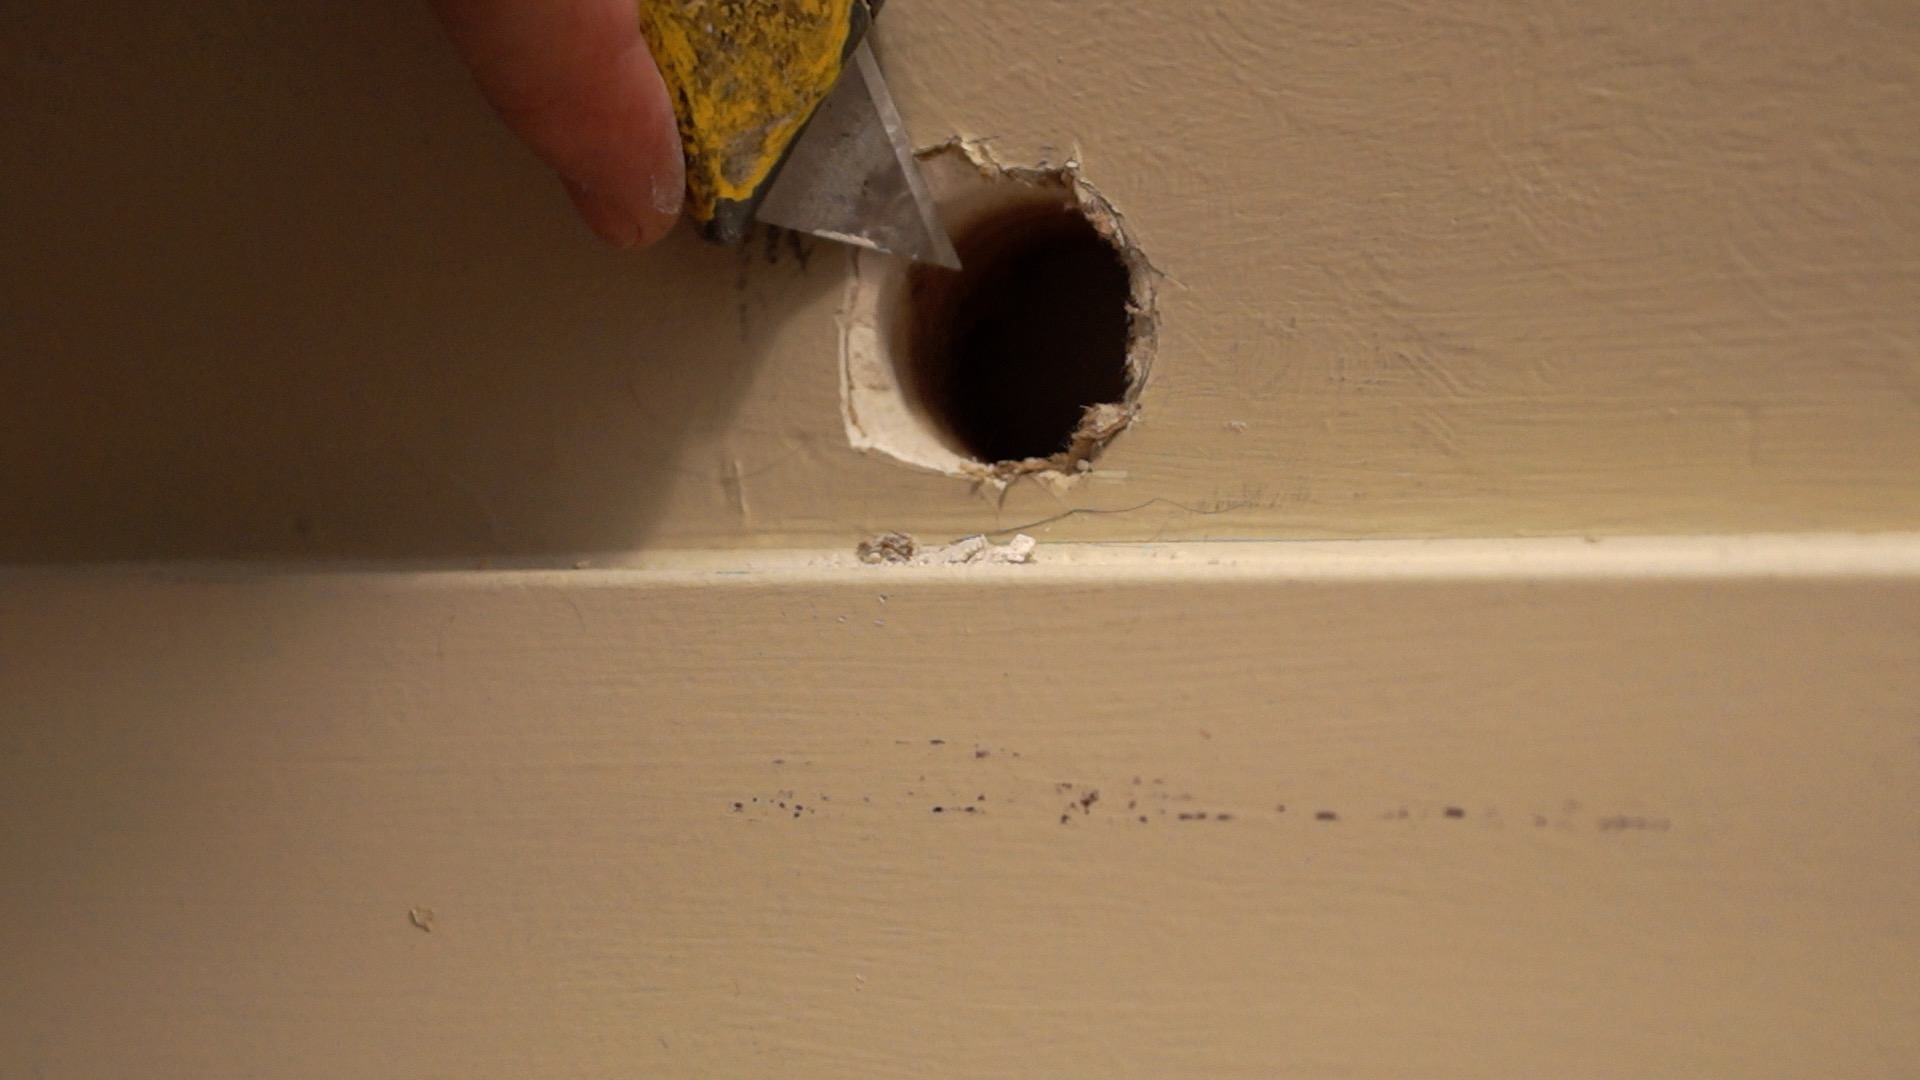
Filling somewhat larger holes with spackle (no larger than a silver dollar).
For somewhat larger holes, I’ll start by cutting the edge of the hole back at an angle to help create a smoother edge (gets rid of any drywall “fuzz” and rough edges).
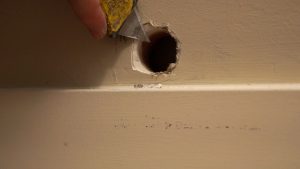
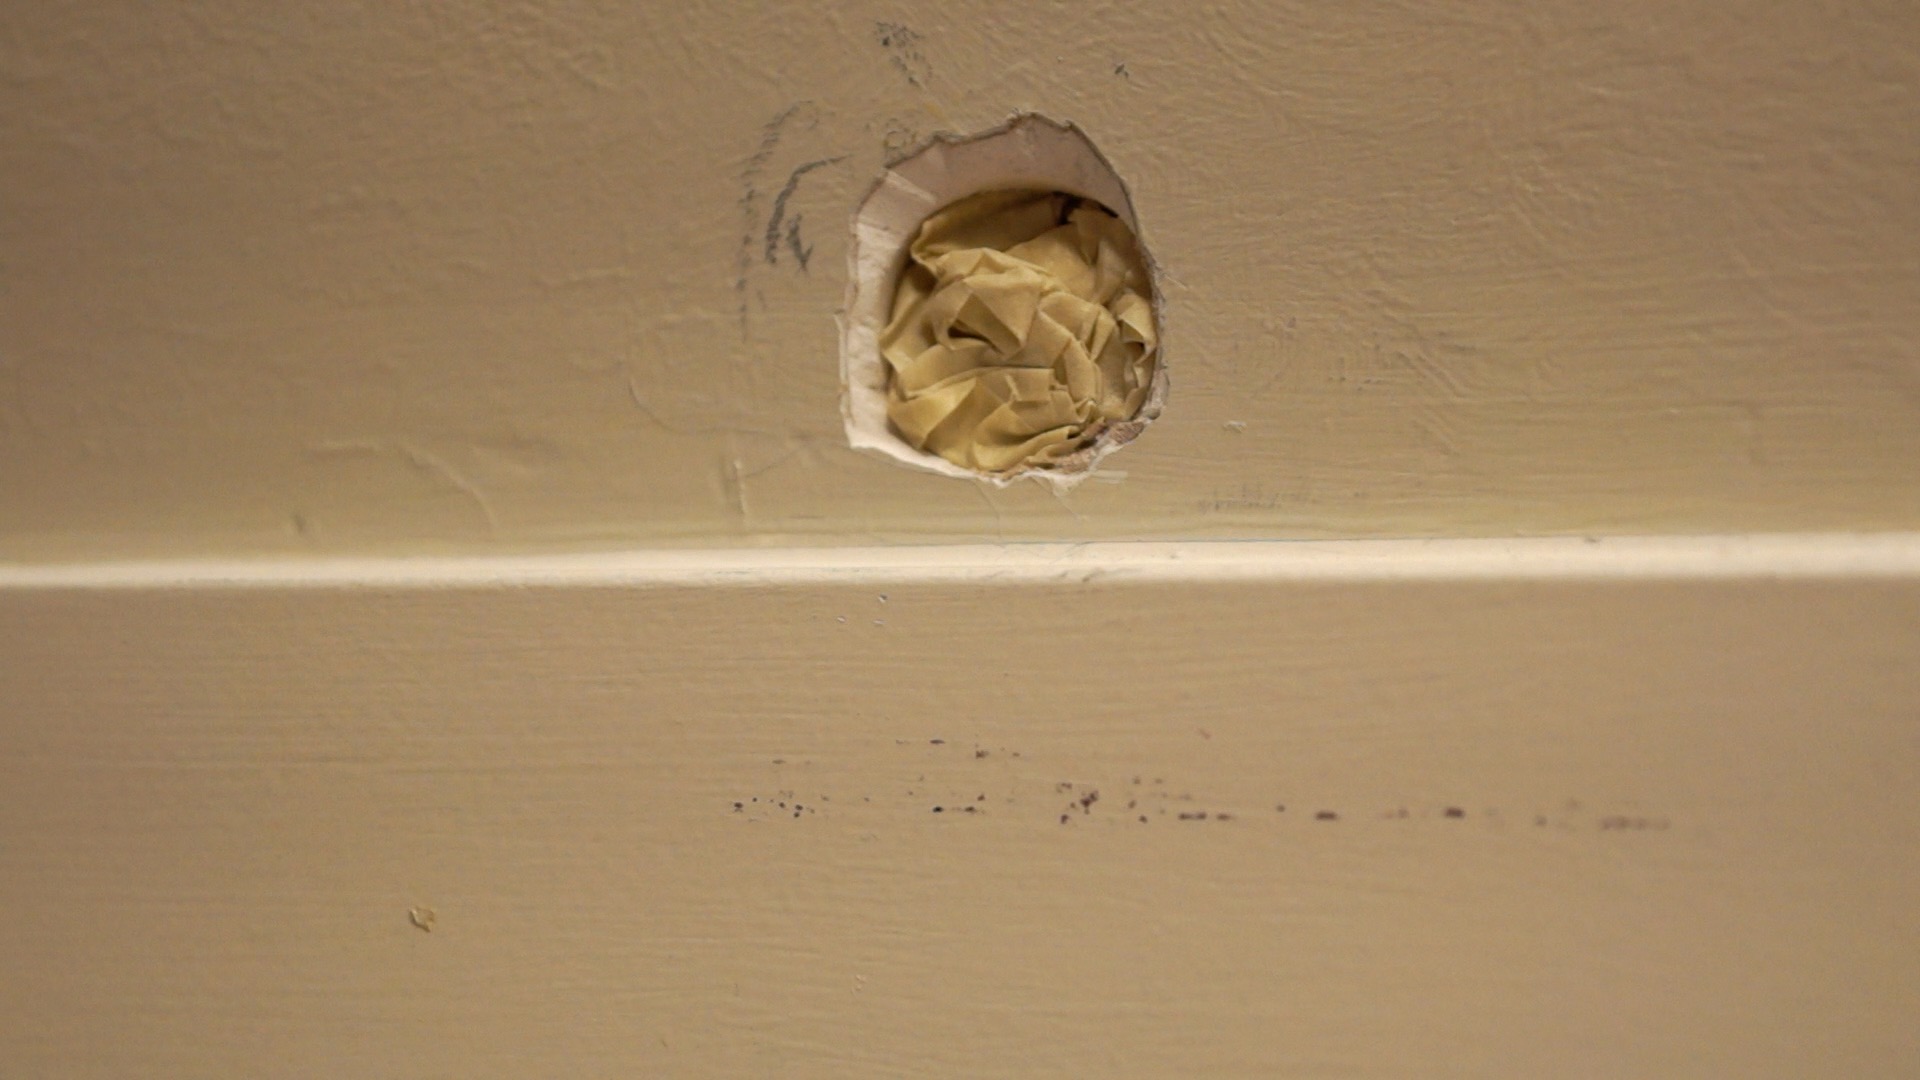
Then I will take some masking tape, roll it up into a ball then stuff it into the hole making sure the masking tape has been pushed just below the surface of the drywall; careful not to push it all the way through the hole!

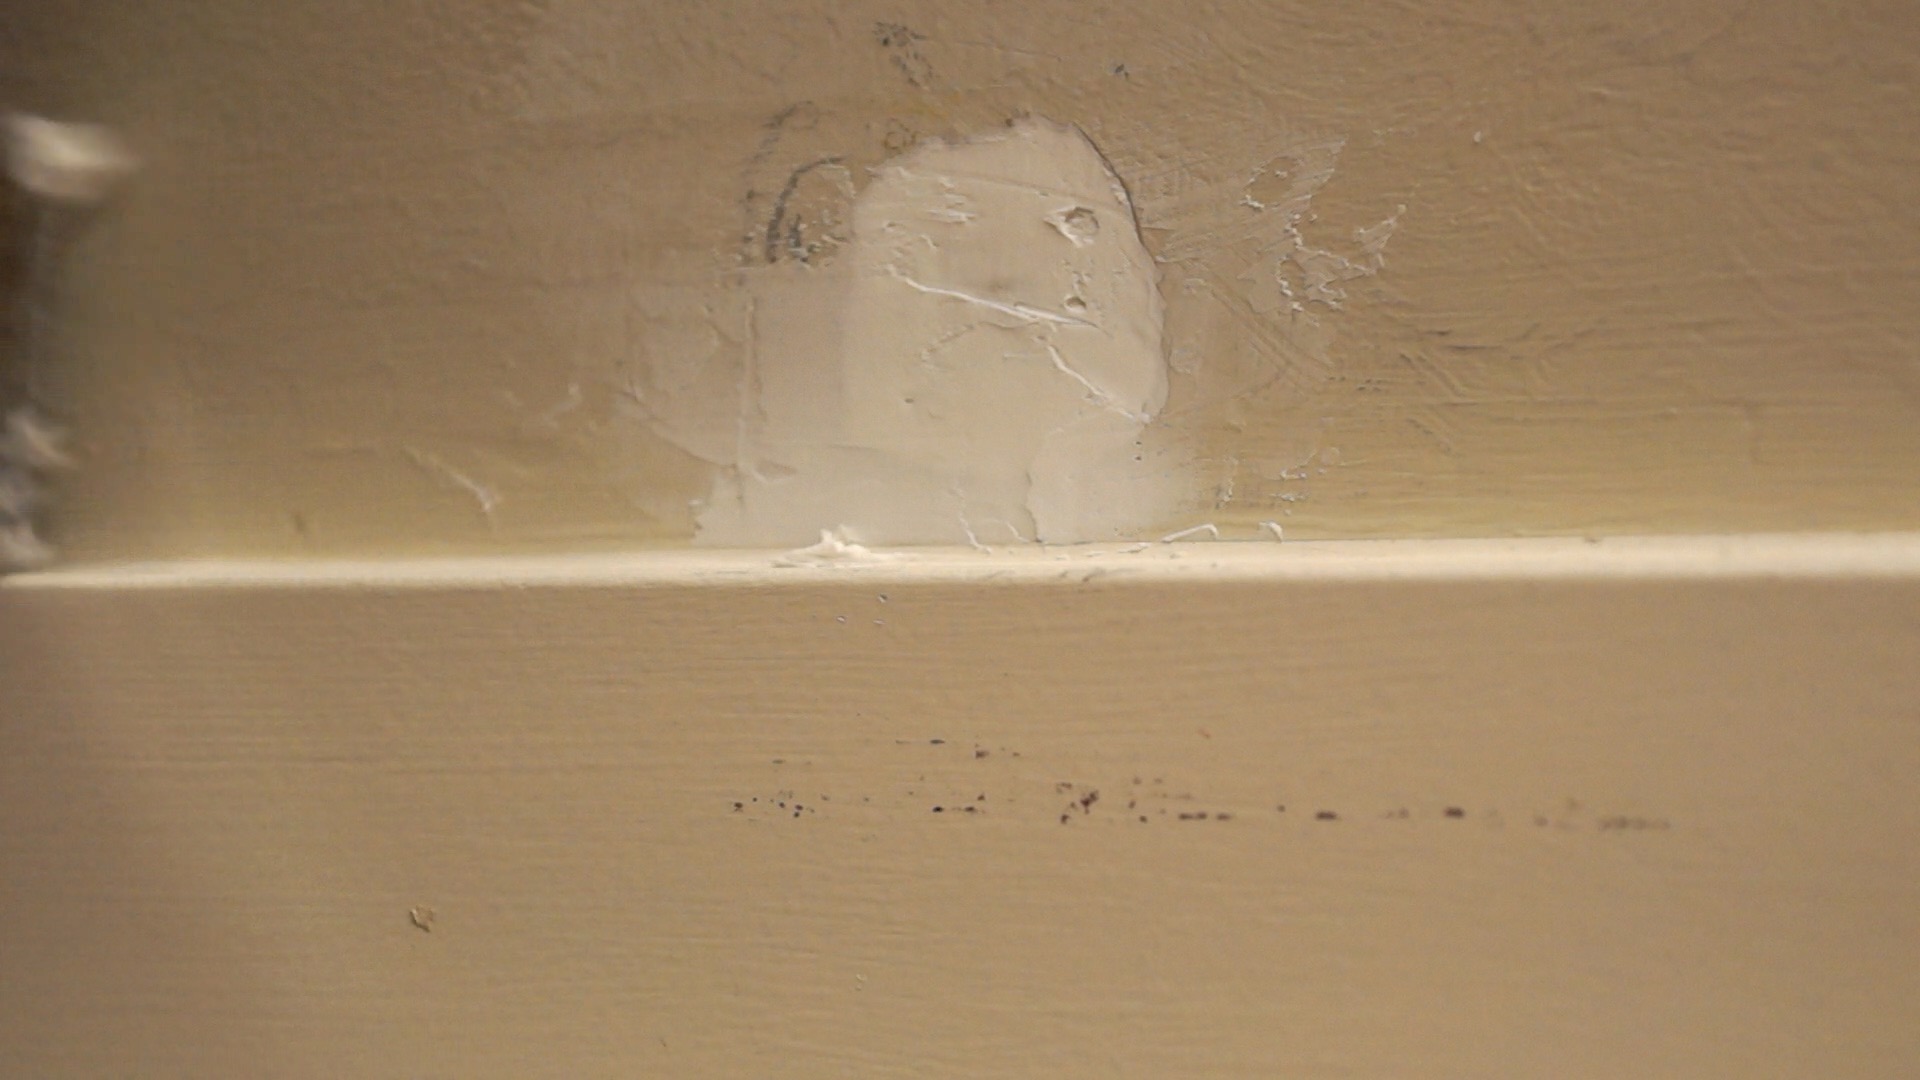
Apply the spackle. You will most likely need to do two coats of spackle as the first coat may shrink or even crack on you a bit (don’t worry about the cracking, just make sure the spackle is completely dry before applying a second coat).
Once the second coat is dry, sand, prime and paint
Fill all voids in the walls and trim with spackle, let dry, sand and prime.
Back to Top
texturing
If you have never used spray texture, I would recommend practicing on a piece of cardboard or the like until you feel comfortable with it. Practicing also allows you to adjust the nozzle for your correct texture size. Keep your hand moving when you spray. Ideally, start to move the can before you start spraying, push down on the spray button, then when you have covered what you would like, take your hand off the sprayer while you hand is in motion. You don’t want to build up too much texture in one place, so don’t just point and shoot the can at the wall.
One thing to keep in mind when texturing with a spray can is how much overspray the texture can produce. It seems to go everywhere, so make sure your areas are well protected.
clearing the nozzle
When you are done spraying, take your can and turn it upside down. Spray, into a safe area (I usually spray into a garbage can), until no texture is coming out of the can.
knockdown texture
If you have a knockdown surface, you will need to spray the knockdown texture on the wall, then lightly go over it with a large mudding knife or a specific knockdown blade. This process also takes a bit of practice, so you should do a couple of practice runs on a piece of cardboard or the like so you get the hang of it.
You can adjust the pressure and the amount of texture you spray. Spray the texture on the wall, then let sit for about a minute (check the can for the amount of time needed before you start blading the texture). Your blade should be wet, so best to use a wet sponge to clean the blade and keep it wet. Holding the blade at a 45-degree angle, lightly run the blade over the texture. Press down as needed to create the look to match your walls, but be careful about pressing to hard. After a pass over a section of the texture, clean off your blade with the sponge, then repeat the process. Clean and wet the blade after every pass.
Back to Top
caulking
Cut a hole at a 45-degree angle just down from the tip of the caulk. You don’t want the hole too large, so start with a smaller hole. Work your way to a larger hole if needed as you get comfortable with the caulk flow.
Take a rag, get it thoroughly wet, then wring it out. You will use the rag to clean off your fingers as you smooth out the caulk. Pull on the caulk gun trigger until the caulk starts to flow out. Apply the caulk by moving across the area while pulling the trigger. Wipe your index finger on the rag to get your finger wet, then run your finger down the caulk; be careful of splinters here. Make sure you don’t use too much caulk. When you run your finger over the caulk, make sure you do not leave any ridges, keep it rounded and smooth, remember, caulk shouldn’t be sanded.
If the areas where the walls meet the ceilings, and where one wall meets another wall have cracks, you will want to caulk those areas as well. I caulk all of the areas where the trim meets the walls, but if these areas look good to you, then you may skip this. I know this may sound like a lot of work, but it really helps when we go to create our cut in lines later on. Caulk needs to dry for at least 4 hours before painting, but my recommendation is to have it dry overnight.
Back to Top
taping up windows with tape
If you have existing paint on the window, I would take a new razor blade and scrape as much of the old paint off as possible before taping.
Take your safe release tape and tear off about a 1 foot piece. I will tear the piece off at a 45 degree angle so I can fit the tape into a corner easier. Make sure the tape is tight to the glass right next to the trim. Simply apply the tape to all needed areas.
If you have a build up of old paint on the glass right next to the trim, you might want to apply the tape away from the trim just a bit exposing the existing paint. Here you would be applying the new paint about a 1/16 of an inch onto the glass and old paint, which is just fine. If you go this route, you do not want to score the new dry paint with a razor blade between the trim and the glass. Wait for the paint to completely dry, then simply pull the tape.
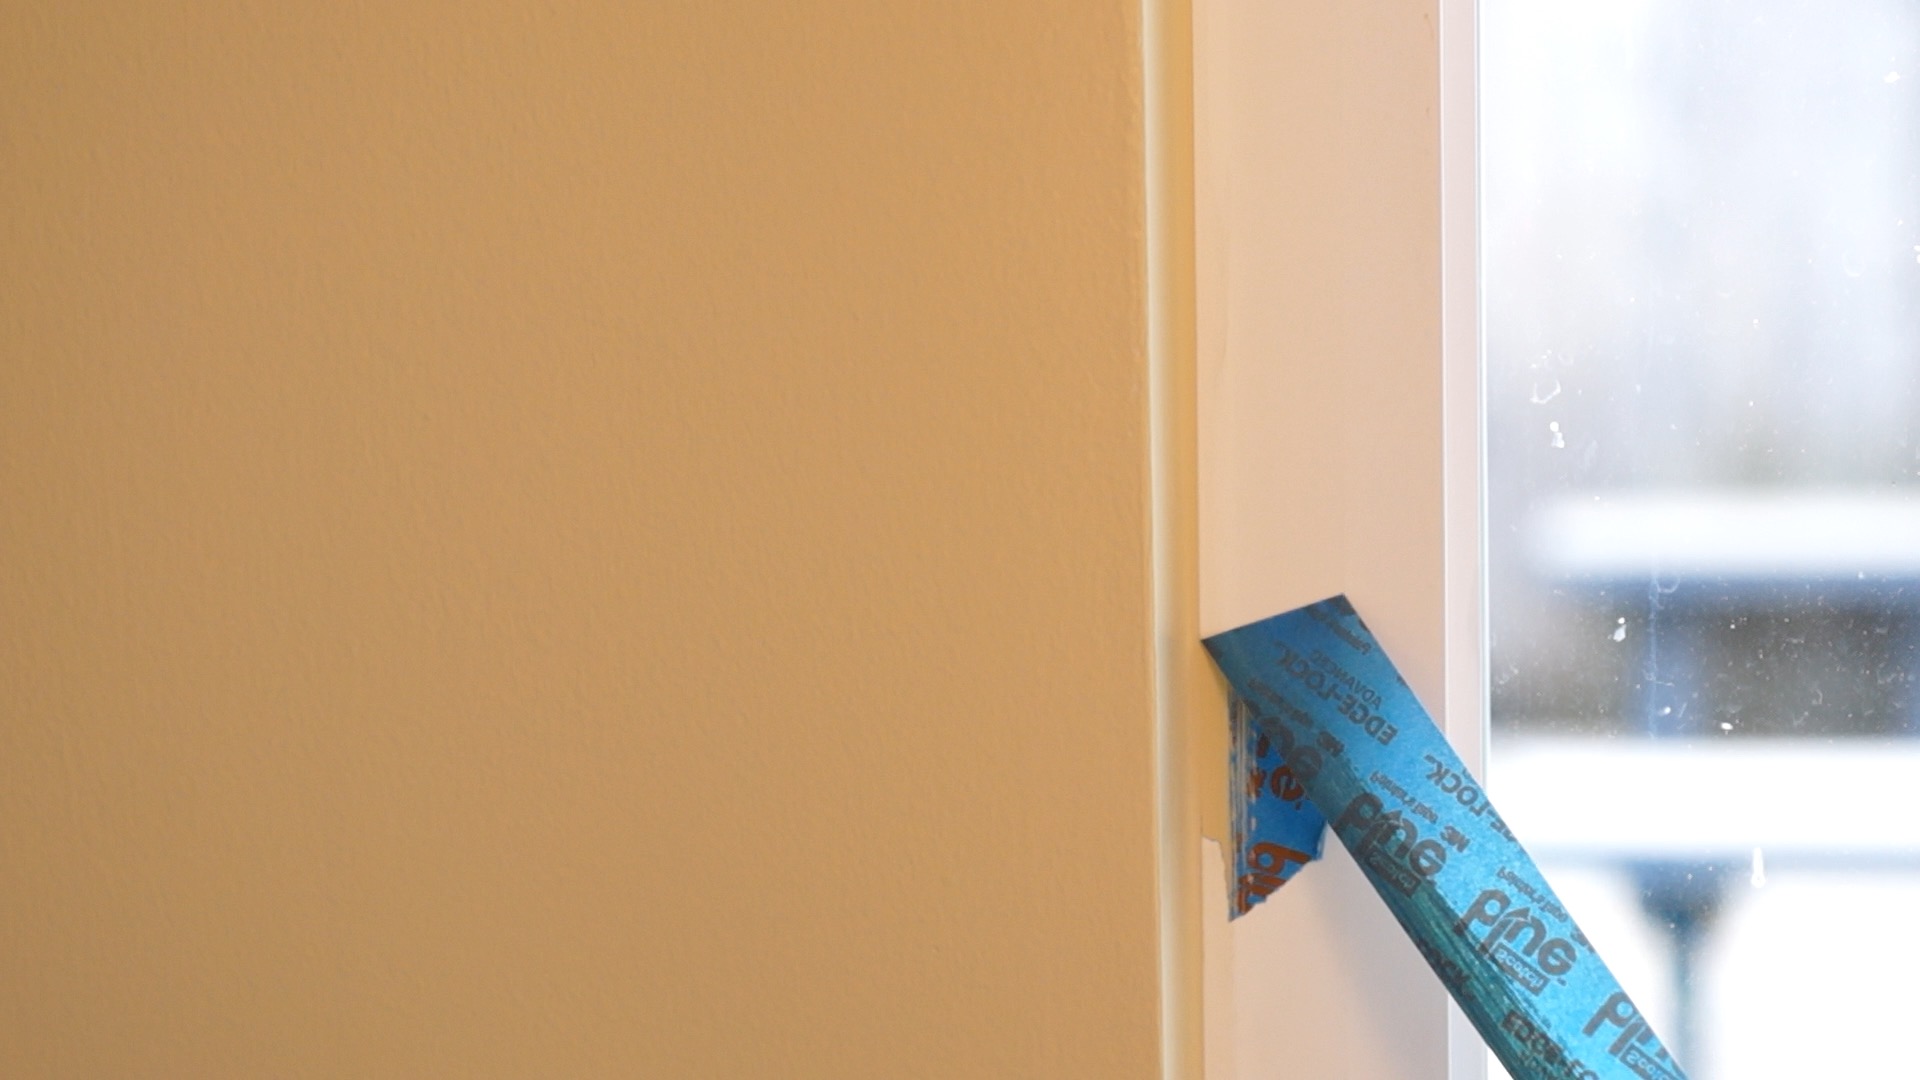
If you have vinyl windows, I recommend painting onto the vinyl about a 1/8″
Place your tape about an 1/8″ away from the edge of the trim (or drywall in cases where the drywall wraps to the vinyl) directly onto the vinyl. If the outer edge of the vinyl window is full of old paint or caulk, I would paint that edge with the trim paint first. After the trim paint has dried on the vinyl, you can tape up.
using liquid masking instead of tape on glass and windows
Instead of using tape you could use a product like Liquid Mask. It’s a brush-able liquid that you apply directly to the glass right next to the trim. It will not permanently adhere to the glass but will stick to wood or painted surfaces.
Make sure the glass is clean before applying and it’s best to clean off any existing paint off the glass first. Apply liberally and allow to dry fully. Once dry, simply paint the trim making sure you apply the paint onto the Liquid Mask, you want to fill the area between the glass and the trim.
After the paint is completely dry, take a box knife and score a line between the trim and the glass. Using a straight edge blade, slide the blade under part of the mask, then lift the mask off the glass. You may need to use the straight edge blade to remove any extra masking that is adhering to the glass. Make sure the blades you are using are new and sharp as used blades may scratch the glass.
Back to Top
priming
Spot prime all mud, spackle, textured areas and bare wood before painting.
Now I do not prime caulk, but in some instances when you paint over caulk without priming it, it may “flash” on you (the paint dries to a shinier finish over the caulked areas). In my experience this is super rare, but if it does happen to you, to solve the problem, you will need to prime the caulked areas.
Back to Top
Painting issues
Here are a few issues you may run into when doing your project.
fine line cracks
larger cracks
Back to Top
lath and plaster
Lath and plaster (thin strips of wood nailed horizontally to the framing, then covered up with layers of plaster) was done in older homes before drywall was introduced. The plaster has a tendency to come loose from the framing and can crack easily; it is pretty hard to fix and to make it look original, so just try the best you can here.
I will usually cut out any areas that have become loose. This could become a can of worms as sometimes you will get started and it seems to never end. Again, use your best judgment. Once you have removed the loose pieces, clean out the area as best you can; a shop vac would be ideal here. Using plaster washers (see photo below) and screws is the best fix here, you simply screw down the outer edge of the void to help hold the existing plaster in place.
Once you have secured the loose plaster, you could use plaster to fill the voids, but I simply use mud to fill those areas back in. It may take two or three coats, and try to apply the mud fairly smooth so you don’t have to do too much sanding. Once you have sanded, prime the new mud before painting.
Back to Top
surfactant bleed (yellow, sticky substance on trim, walls and/or ceilings)
Surfactant, which is a chemical compound in the paint, normally dissipates during the drying process. However, if the recently painted area is too wet and/or too cold, the surfactant will come to the surface, but it will not evaporate, leaving a yellow, sticky film. To clean the surfactant, first try using a warm soapy rag and wipe it off. If the surfactant has been sitting a while, it may have dried hard and will not clean with a warm soapy rag. If it will not clean off, you will need to prime it with a stain blocking primer.
Back to Top
peeling paint
This can be problematic, but it would be ideal to figure out why the paint is peeling. If you have a bathroom with bad ventilation, then it’s probably a moisture issue. Paint can peel because it was painted over a shiny/glossy area without proper prep. It could also peel because the old paint was painted over an unclean surface (dirt, drywall dust).
Scrape off the peeling paint as best you can to remove all the loose paint. Using rough sandpaper (100 or 80 grit), sand down the entire area really well. Take some cleaner (TSP or a household cleaner) and clean the area. Allow the area to dry completely, then apply a coat of primer. To get rid of the voids, take some spackle or mud and apply it to the area. Once dry, sand, then dust off the area before priming again.
Back to Top
smoke issues
Smoke residue needs to be cleaned off with TSP or a cleaner before you paint. If it is not removed, your paint will not adhere as well as it should. Also, know that there is a chance that the smoke residue will still bleed through the finish paint. Once you have cleaned the affected areas, apply a bit of the finish paint and let it dry. If it bleeds, you will need to apply a stain blocking primer. Now there are two bases of stain blocking primers, latex, and oil; oil usually works better in these scenarios. If you decide to go with a latex product, make sure it dries completely, preferably 24 hours so it can trap and hold the smoke residue. The latex stain blockers may not stop the bleeding; if that is the case, you will need to switch to an oil or shellac based primer.
Back to Top
tannin bleed
Tannins are a naturally occurring bi product of certain woods like cedar. When you apply paint to the cedar, it may discolor. If your paint bleeds the tannin, then you will have to prime those areas first. Again, an oil base stain blocking primer will be more efficacious than a latex product. The latex stain blockers sometimes do not stop the bleeding.
Back to Top
final clean before painting
Make sure to clean up the area for the final paint. Carefully dust off the sills, windows and door frames, and wipe them down with a clean damp cloth. Let dry, then wipe down with tack cloths. Carefully vacuum or sweep up the dust on the floors. If you have plastic on the floor, best to not use a vacuum, it just sucks up the plastic and is very annoying. I will usually sweep the best I can, then take a pass over the plastic with a wet rag, focusing on those areas next to the trim.
Back to Top
Please help me maintain this site by donating! Thank you!